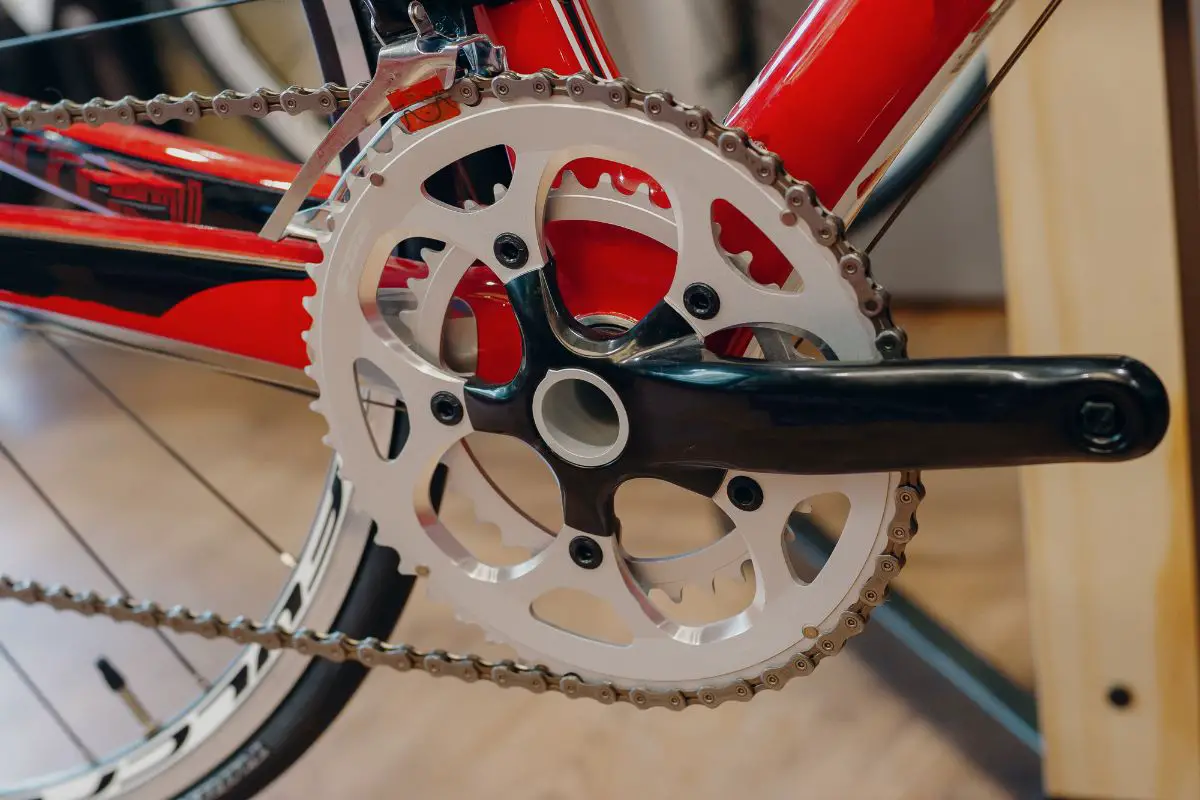
The cranks in the bike play a vital role in riding. A crank is nothing but an arm that attaches with the sprocket at the front end of your bike. You will see a chain in the sprocket of the front end which connects the driver and driven parts of your bike.
But, if the cranks on your bike have wear and tear or need replacement, then you should change them on your own. It seems an arduous task, but in actuality, it is not that much difficult. You will need some time and follow a few steps to replace your crank. Now the question comes how to replace the bike crank? Well, it’s pretty easy. You don’t need to worry about it. One can do it at home by having some simple tools. This article will guide you regarding how to replace the bike crank.
What is a Crank?
The crank connects the pedal of your bike to the bottom bracket spindle. You will find two cranks on opposite sides of your bicycle, and they are 180 degrees to each other.
Various types of crank arms are available in the market. Even they consist of different kinds of materials. You usually find steel crank arms in old bikes. Now the manufacturers use aluminum or low carbon fiber in making crank arms. The mountain bikes generally have aluminum crank arms because they are lighter and rigid. So, it becomes easy for the rider to carry the bike in uphills.
When the crank combines with the piston rod or connecting rod, it can convert the reciprocating motion into rotary motion. As a result, the wheels roll on the ground. In a spark-ignition engine or compression ignition engine, you find a piston-cylinder arrangement. There you will see a connecting rod that connects the piston and crankshaft.
But, on a bicycle, you don’t find any special connecting rod. The leg of a rider acts as a connecting rod. Whenever you pedal, it acts as a crank rod and converts the reciprocating motion into rotary motion. That’s why we call a bicycle crank a human crank.
Tools Required to Replace Bike Crank
- Cloth
- Crank tool(a unique tool that can pull the crank of your bicycle)
- Torque wrench
- New crankset
- Allen wrench
- Open-end wrench
Procedure to Replace Bike Crank
#1. Lose the Pedals of Your Bike
At the first step, you need to take out your chain and then pedal from your bike. So unfasten the screw with the help of an open-end wrench. You can move your wrench anticlockwise to remove pedals. Well, there are pedals on both sides of the bike, i.e., left and right sides.
On the left pedal, you wind L written and on right R written to indicate your pedals easily. So, remove pedals at both ends to replace your bike crank. Once you remove the pedals, clean the various exposed parts with the help of a screwdriver.

#2. Loose the Crank Bolts and Crank Nuts
The next step is to remove the crank bolts of the crank, which you can do with the help of an Allen wrench. Now take the crank tool and try to insert it on the hub of the crankshaft. Try to insert it tightly so that it will be easier for you to remove the crankshaft.
Try to make it tight with the help of an open-end wrench. But make sure that the threads of the crank tool will not cross with each other. Then take an Allen wrench and continue turning your crank tool till the crankshaft comes out of your bike. Just repeat the process on the other side.
#3. Clean Your Bike Parts Properly
Now you have removed your crankshaft. So, you can easily clean the bearings and bottom bracket properly. Just take an old clean cloth and clean all the dirt, dust or mud. You should use water to clean the bearings. An old cloth is sufficient to clean the bearings.
#4. Lubricate Bike Parts
Lubrication of bike parts is as necessary as cleaning. You need to lubricate your new crankset, bearings, and bottom bracket. But don’t apply too much oil as it will attract more dust and dirt. But, make sure you should remove all the dust and dirt entirely before lubricating various parts of your bike.
#4. Replace New CrankShaft
Now it’s time to replace your new crankshaft and insert it on the square taper of the bottom bracket. Now take the crank bolt and insert it back in its position. You should tight your crank bolts with a force of 12-14 Nm with the help of a torque wrench. Once you insert the new crankshaft, you can rotate the crank with the use of your hand.
If it turns smoothly, then there is no problem. But if you have some noise or it isn’t easy to turn, you need to tighten your bolts again, which indicates that you have tightened your bolts so tightly. Remove the crank bolts once again and slightly lose compared to the last fitting of the crank bolts. Once your crank bolts are properly fit, you can then fit the dust caps.
#5. Place Your Chain Back on the Chain Ring
Now give the chain some slag and put it back on your chainring.
#6. Install the Crank Arm on Other Side
Now install the new crank arm on another side by repeating the same procedure.

#7. Put Your Pedals Back in Position
Use multipurpose grease on the threaded parts of your pedal. Then thread each pedal on the pedal holes of the crank arms and tight it with the help of an open-end wrench.
#8. Get Ready For Test Drive
Now you can take your bike for a test drive to check whether you have adequately installed a new crankset.
Conclusion
Bike cranks serve a primary purpose while pedaling on roads. So, you should maintain it properly. This article discusses how to replace the bike crank in detail, hoping that the procedure is relatively easy for you to install a new crank in your bike.


