Are you looking for an electric bike, perfect for long distances and requires minimum maintenance?
If yes, then go for an electric friction drive bike.
In the past few years, the craze of e-bikes has increased significantly. The reason could be increasing concern about the environment, ever-increasing traffic and lack of parking space.
Ebike sales are growing in the US market, and you can expect it to increase in the coming years.
Although electric bikes are not new for you, friction drive bikes might be!
That’s not a problem! Read this guide, and you will know everything about the bike electric friction drive system in and out!
What Is An Electric Friction Drive Bike Kit?
To understand a friction drive, you first need to know how a hub motor works. A hub motor has two parts, a stator and a rotor. You have to fix the rotor onto a static part of the bike and connect the stator to the wheel.
When you turn on the motor, the electromagnetic effect between the rotor and stator causes the stator to rotate, making the wheel move along.
On the other hand, as its name suggests, a friction drive is a system that powers a bike using friction. You have to connect the rear wheel of your bike with an abrasive roller. Then you connect this roller with the motor shaft.
This roller has an abrasive coating to help it grip the tire. It also has a tension mechanism that holds it in place with the tire.
The moment you push the throttle, the roller starts rolling. The abrasive coating causes the tire to move along with the roller. This wheel, in turn, moves your bike.
Electric Friction Drive Bike Kits: Are They For You?
Pros:
- Great for people who prefer using a lightweight cycle.
- Installation is a lot easier than hub motor or other types of engines.
- Tire width does not matter; you can install FD motors in mountain bike City bikes or even road bikes.
- For people who want a safer ride – a hub motor failure can slew your bike to one side.
- Lower shock and vibration while riding – hub motors increase the bike’s unsprung mass, causing more stress on the suspension system.
- It helps keep your existing bike with little modification.
- Friction Drive systems are silent, and you can use them for day-to-day purposes.
Cons:
- Loss of efficiency – friction is not a great way to drive a wheel because you lose a lot of energy in the process.
- Increases wear and tear of the tire.
- It doesn’t work well in rainy and snowy conditions. Ice and water reduce the coefficient of friction. Your roller and wheel do not work as well together under these conditions.
- It doesn’t work well with smoother tread tires.
What Tools Do You Need For A Friction Drive Electric Bike Kit?

Electric Friction drive kit includes an engine motor that changes your regular bike into an e-bike! You just need to install it on the rear wheel and pull the rope.
Here is what installation takes:
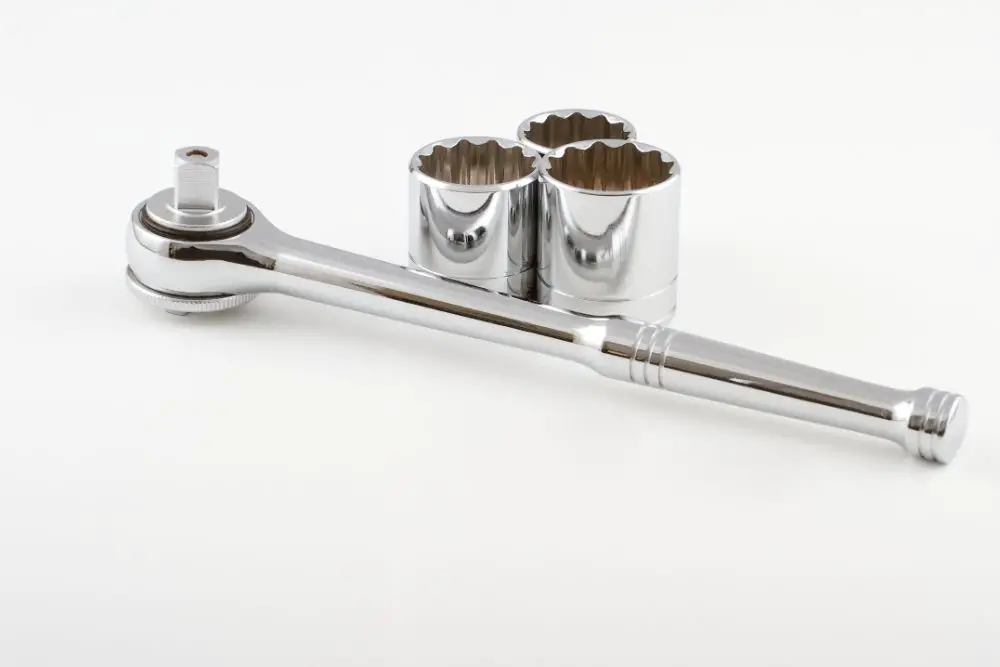
- 14 mm socket wrench or an adjustable wrench
- A wire stripper
- Zip ties
- A sharp object to cut box
- Compact drill having bits of 1mm or 5 mm
- Electrical tape
How To Install A Friction Drive Electric Bike Kit?
If we talk about friction drive motor engines, then there are many to name. We have taken a Flying Horse Friction Drive Engine kit to explain to you the process of installation.
But the process is universal. So no matter which kind of FD drive system you have, follow these steps to start your bike right away!
- Let’s take the square-shaped mount first. It sits below your seat. Put that fair price first, then seat stays, and then the flat plate. Screw in the bolts and screws with even torque. And yes, the mount should be in the center!
- Now comes the main mount. You have to Install the main mount with the engine.
- Your bike can be of any size, but an FD motor is not. This incompatibility is where brackets come into play. Mount support brackets and adjust them. It should be such that the engine is allowed for clearance.
- The next turn is mounting hardware. You can ask someone for assistance in this part. Align the mounting plate with bracket ports.
- Now you are ready to install the throttle cable and kill the switch. Use the beaded end of the cable. Fasten the zip ties once done.
- Do not forget to install the throttle handlebar as it is that decides how you control it. You have to use a drill here to insert a mounting pin or kill switch.
- Unlock the quick-release system and put down the mounting plate. I’ll use the start rope to engage the motor. Initially, it may take multiple times to start; then, you will get the sweet spot!
Things to Know
Friction drive kits may sound similar to conventional bike kits to first-timers but trust me, it’s not! You get a different riding experience than your current bicycle. As you upgrade your bike with FD motors, you should use any part against the FD engine.

Very few people know that FD motors require smooth or street-style tires. This requirement is to make sure that the drive is in full contact with the tire. Unfortunately, if you have a knobby tread tire, it won’t go well with Friction drive kits.
How To Choose The Best DIY Electric Bike Friction Drive?
Although you can better find the electric bike friction drive easily, here’s how you can choose better out of the best.
- Don’t buy a cheap motor.
- Go for multiple stroke kits.
- Choose a Horsepower battery.
- Understand the mechanism and then choose wisely.


