


 Lee Hill
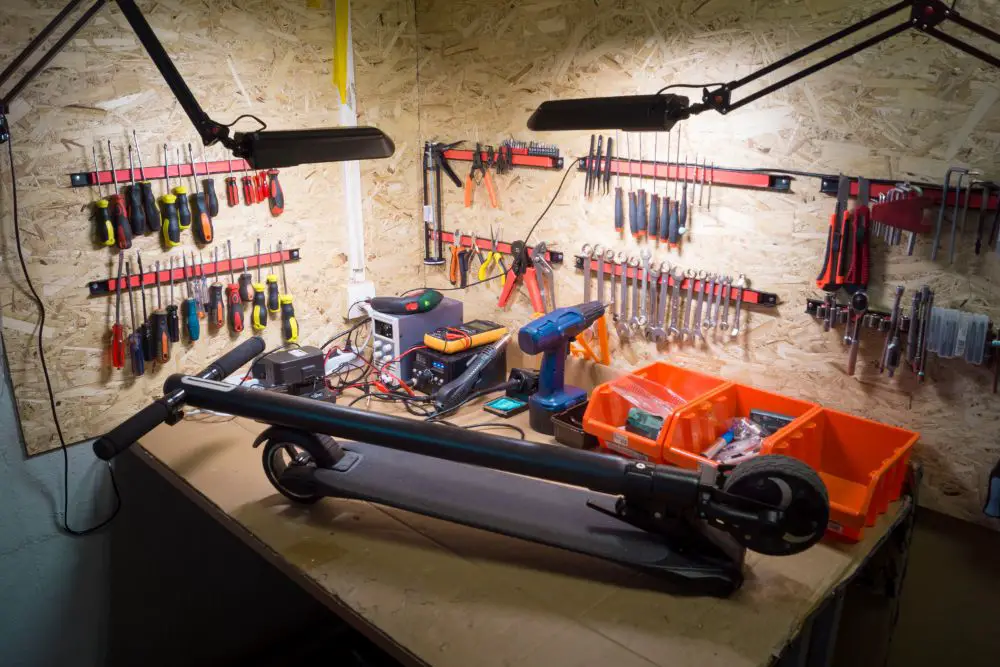
Do you own a Razor electric scooter, and it is not performing well? Read further to learn how you can fix the problem.
Razor electric scooters are among the best electric scooters available on the market. These scooters have excellent functionality at excellent prices. You can afford these electric scooters as they have an affordable price range. The new range of Razor electric scooters starts from $449.
People who were having difficulty deciding whether to buy an electric scooter can easily purchase them now.
Every electric scooter rider or user does face some problems and issues with their vehicle.
Sometimes these problems can be petty, and sometimes they can be pretty significant as well. You can identify and solve this problem on your own without any external help.
This article contains some easy steps and methods that will guide you throughout the process of Razor electric scooter troubleshooting. You can tackle around 90% of the common problems and issues with this troubleshooting guide.
Razor E100 Electric Scooter Troubleshooting
Now we will deal with some of the common problems that occur in a Razor e100 electric scooter.
Razor e100 electric scooter troubleshooting methods are given below.
• Motor Engages But The Scooter Does Not Move
This problem may not involve the motor. The rear-wheel or the chain might be faulty. You must correctly like the chain to the engine as well as the rear wheel. After checking if you find the chain intact, your electric scooter’s rear wheel may be defective. Try replacing this tire with another tire and then test the wheel again. It should work properly now.
• Power Switch Does Not Light Up
You must check whether the motor of your electric bike is engaging or not. If the engine does not engage, then there must be some faulty or loose connections in your electric bike. You would have to remove the under plate on the scooter and check all the wires and connections.
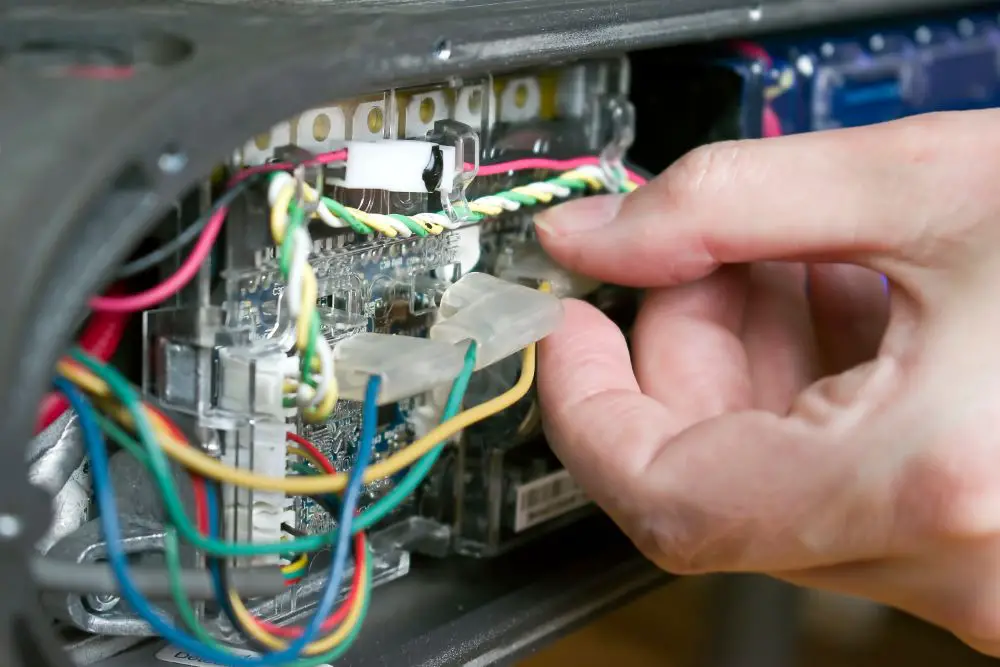
If you do find some loose connections, then reattach or connect them. If the motor still doesn’t engage, then you will be required to replace the reset or power switch on your electric scooter.
• Power Button Switches On, Scooter Does Not Move
To solve this Razor e100 electric scooter troubleshooting issue, you will have to reduce the load you exert on the electric scooter. This issue mainly arises due to excess weight or load. The electric scooter cannot move even when the power light is on due to this extra load.
There is another reason due to which you can face this problem. Your electric scooter may also not move because of the high degree of climb or incline while riding. If you use this electric scooter for climbing steeper slopes than this scooter can handle, it will not run properly.
• Electric Scooter Shuts Off While Riding
Your electric scooter may shut off while riding as you may or may not have fully charged its battery. If the battery has no charge left, you will require to charge the battery completely before using the electric scooter again.
If the electric scooter has enough charge or juice in the battery, then you don’t need to charge the electric scooter. You can try resetting your electric scooter to start the motor again.
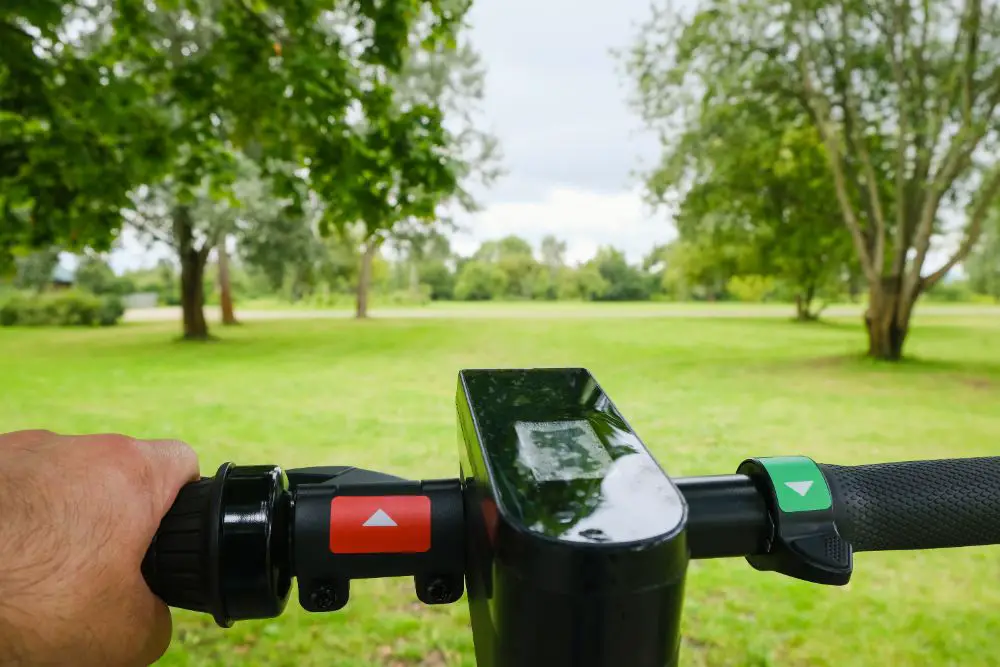
• Motor Does Not Engage
Razor electric scooter troubleshooting guide also deals with electric motors that do not engage or start even after giving them the proper power supply. You can curb this issue by providing some momentum to the scooter before starting it. If the electric scooter is already in motion, it is easier for the motor to overcome the initial inertia and start moving.
Razor E200 And E300 Electric Scooter Troubleshooting
The most common problems or issues that you may face while riding a Razor electric scooter are given below with their solutions and quick fixes. The Razor e300 electric scooter troubleshooting steps are as follows.
• Scooter Does Not Move Even After Charging
Firstly make sure that you have correctly connected your electricity to your charging point. You can use the LED indicator or light to make sure that the scooter is charging.
The red color on the light signifies that the electric scooter is still charging. At the same time, a solid green light indicates that you have fully charged the electric scooter.
When you have fully charged the scooter, make sure all the wires and connections are correct, loose connection or wires can cause your electric scooter to lose its functionality and cause it to malfunction. If the problem is not in the electric bike battery, you will likely find it in the motor or the rear wheel.
You can check the motor and the rear wheel by removing the underplate from the deck of your electric scooter. After removing this plate, you can slowly start to rotate or turn the throttle. This rotation should make the rear wheel on your electric scooter start spinning if the rear wheel is operational.
If the rear wheel does not spin and rotate, you would have to change the motor from your electric scooter. You can buy a separate electric motor that is compatible with your electric scooter.
• Heating Of The Motor
Heating the motor or the battery while driving an electric scooter is never a good sign. The heating of essential parts such as the motor and the battery may lead the electric scooter to malfunction.
Heating generally occurs when you exert more load or strain on the scooter capable of handling.
Whenever you experience your electric scooter heating up, it is best to switch off the scooter and let it cool down. You again resume your journey as soon as the electric scooter cools down. You may experience hearing up of the battery due to overcharging or high temperatures. Heating will cause the battery of your electric scooter to lose its durability.
Due to this issue, the battery pack in your electric scooter will start to drain quickly and would also take up more time to charge.
Frequently Asked Questions
Why does my battery not hold the charge?
If the battery pack in your electric scooter is not holding the charge, then this problem could mainly arise due to three reasons. You need to check the battery and other connections to solve the razor electric scooter troubleshooting.
If the battery is not charging them, your battery could be defective, and it may also be suffering from faster draining due to some issue. You can face this issue because of a faulty charger as well.
Changing the charger or the USB cable could solve this issue.
How do I know my battery is fully charged?
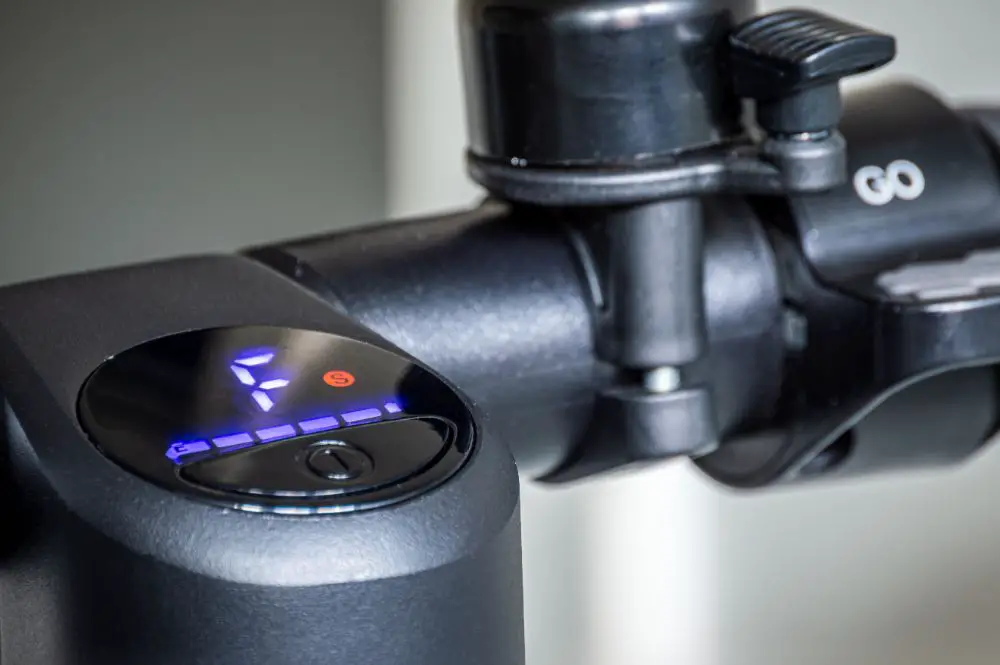
Razor electric scooters have unique LED lights that indicate the charging level of your charging.
When the LED lights turn into a solid green, then the battery is fully charged.
If the light shows a solid green color just after a short time of connecting, then your scooter is malfunctioning. This solid green light should appear eight to ten hours after you connect the charger.
You should also charge the electric scooter for about 15-20 hours before using this scooter for the first time.
Why do I need to reset the electric scooter?
Resetting the electric scooter is an effective method for electric razor scooter troubleshooting. All razor electric scooters have these reset buttons on the left side of the driving handler. The main reason you may need to reset your electric scooter is adding more load or weight on the scooter than it can take.
Overcharging your electric scooter battery can also be a significant cause that leads you to reset your electric scooter. Resetting an electric scooter can instantly solve minor functional and operating issues.
Why does my Razor E100 electric scooter not run?
The Razor e100 electric scooter troubleshooting steps involve checking whether you connected the charger perfectly to the electric scooter. If the charger is connected properly, then a right light or indicator will show up.
When you are using your electric scooter for the first time, you should charge it for twelve hours.
After the first use, you can start to charge the battery for eight hours subsequently. You could also have a faulty motor that does not engage even when you push the throttle. The problem can also be pretty small such as some loose wires and connections.
Final Verdict
Razor electric scooter troubleshooting is a science, and we just described its steps above. This article will help you as a complete guide for solving all the issues you may face while using a Razor electric scooter.
Different Razor electric scooters sometimes have different functionality issues, so to overcome this problem, we also talk about the Razor e100, e200, and e300 electric scooters. You would need any external help to repair or fix your electric scooters because of these troubleshooting methods. These methods would instantly solve your problems moreover would also not be expensive.