With the changing times, biking has become one of the prominent sports. For better results, you should take care of your equipment. Cassette is the vital part that helps to push a bike smoothly through different terrains. It bears all the pressure and tear of the ride.
To get better performance and safe functioning, you should clean it regularly and change it as soon as you wear it out. Any delay may lead to problems while biking. Also, it is not safe. As per the wear and tear, the professionals may have to change it every six months compared to the others who might change it in one or two years as per their usage.
When to Change a Cassette?
Cassette being an important part can hamper the proper working of a bike. So, it is important to keep a check on the condition of the cassette. If your bike is skipping while peddling, then it is a clear indication there can be some trouble with the cassette.
It generally gets clogged with dust and pebbles. If you bought a new bicycle, then you may try cleaning it first. If you have been biking for a long time, then you need to change the cassette. The life of the cassette also depends upon the condition of the chain. If you can keep it well, then the cassette does not tear down fast. If the chain is old and stretched out, then it affects the cassette.
Moreover, if the teeth of the cogs are damaged and rusty, then it is high time, and you should change. Changing is not that big of the deal. You can easily do it yourself. Here I bring you a simple guide on how to change a bike cassette.
Tools Required
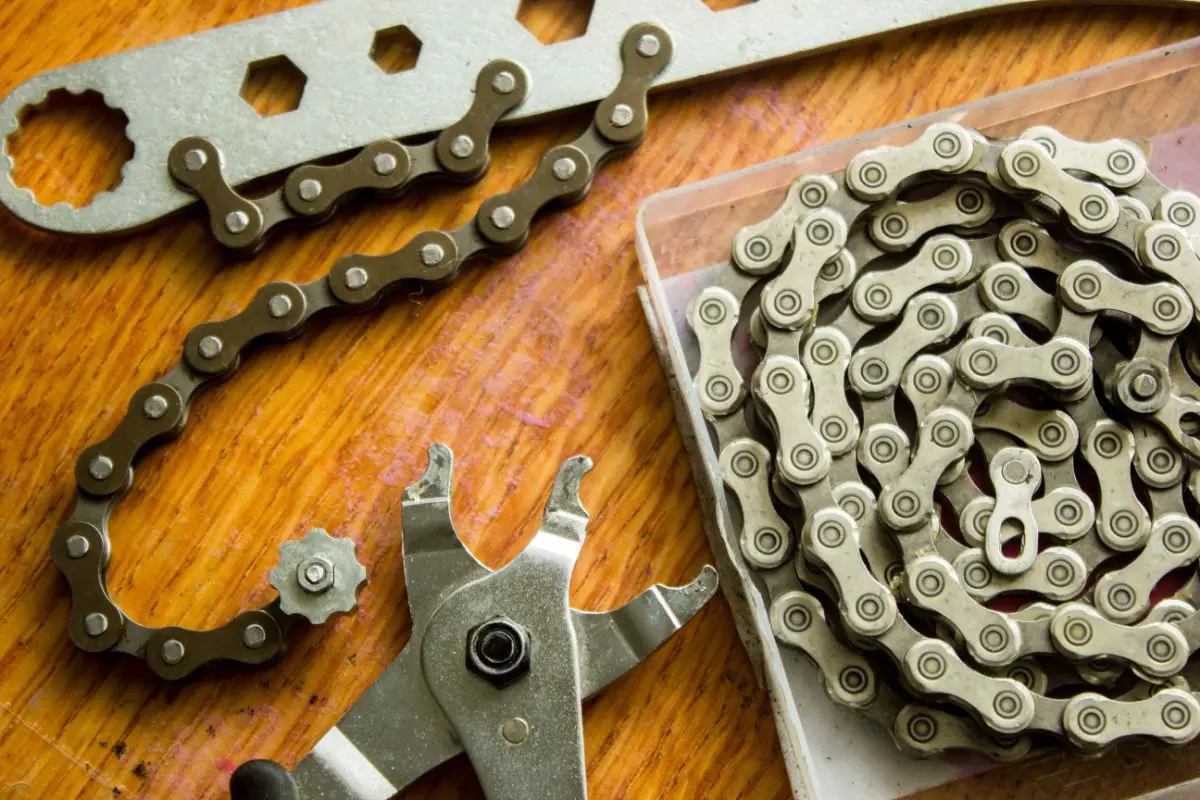
New Cassette and new chains: Mostly, these both wore down together.
Chain whip tool: It will help to remove the chain easily.
Lockring tool: It will help to fix the cassette. It is available in different sizes, choose as per your bike.

Steps to Change the Cassette
Do not stress up on how to change a cassette on a bike wheel. It is easy with little skill. I recommend you use gloves before starting the process. It will keep your hands safe from pointed things.
Step 1
Place your bike in a tilted position, and the very first thing you need to do is remove the rear wheel of your bike. For this, you need to switch the bicycle chain to a mini cog on the cassette. After this, quickly unwind and remove the wheel out of the axle. Place it safely on the side.
Step 2
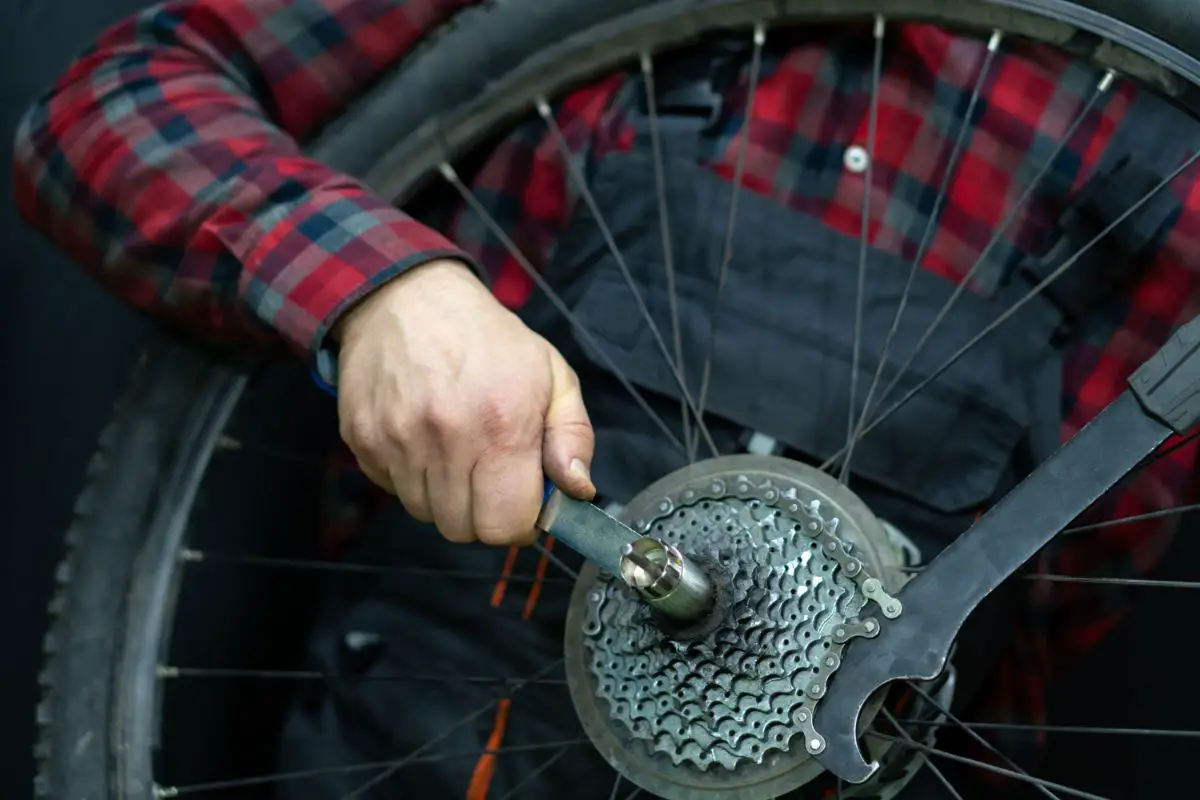
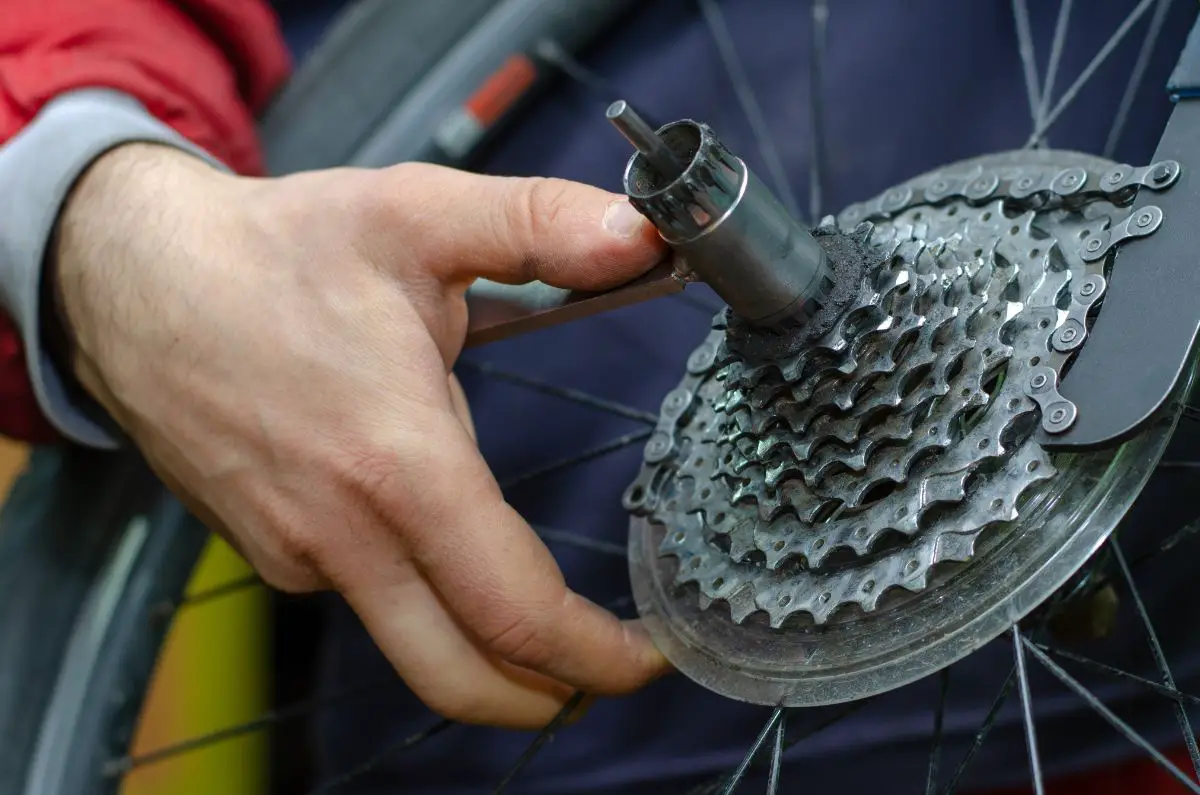
Now, we need to look closely, how to change a road bike cassette. Put the lockring tool on the lockring end with its handle or a wrench. Now, keep the chain whip over the cassette in its place to avoid any slip or movement.

Step 3
Now turn the affixed lockring tool counterclockwise and unscrew the cassette. Once you unscrew it, put away the lockring tool and the chain along with it. Then pull the old cassette out of it.
Another thing, at this point, you can also check the state of the freehub, where we will put the cassette. If it is in proper condition, then you continue with it. In case it is deeply gouged, then you might consider replacing it. So, check and do accordingly. Suppose you need to repair or grease it. Do it here.
Step 4
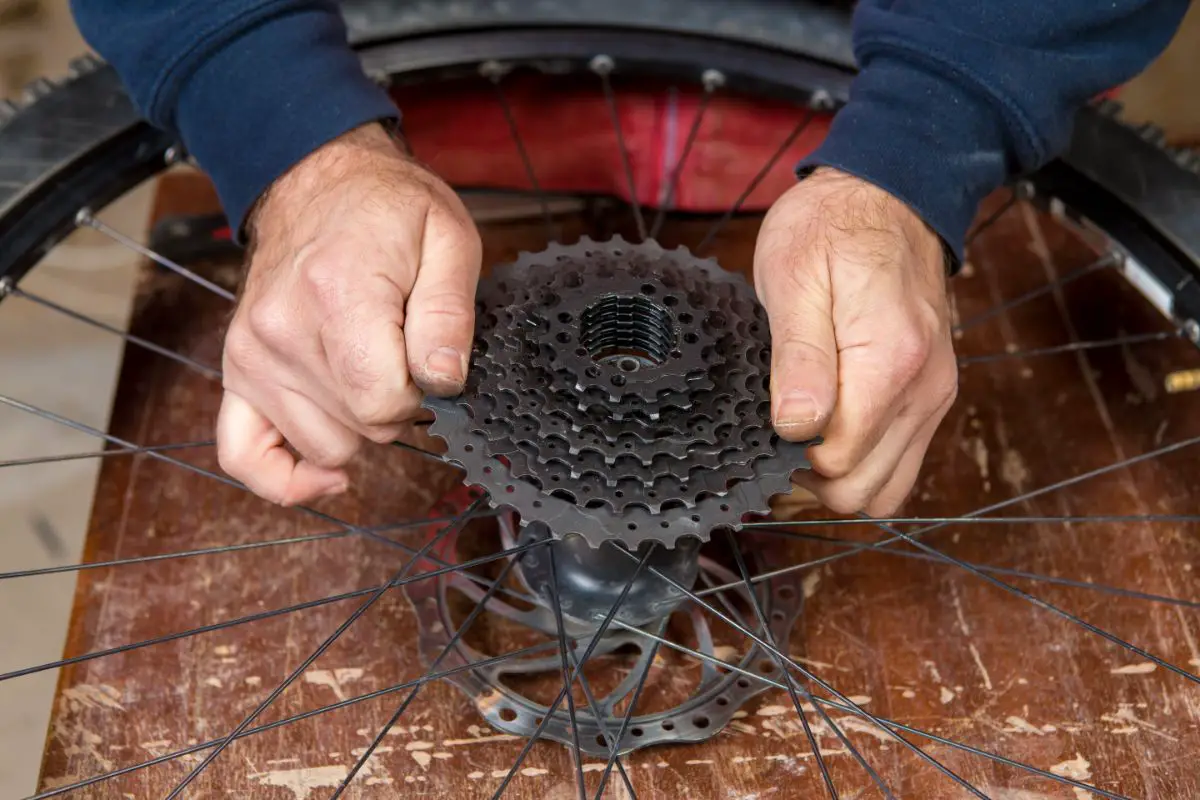
Now, it is the most important step in the process of how to change a cassette bike. Get the new cassette. Very carefully install each cog of the cassette lined up with splines. Check the spaces between them so that they align properly with the inscribed side facing out. It will look as if you can count the teeth of the cassette.
If you check closely, there is supposed to be one wider gap on the rear of every cog. This gap is needed to line up with the big spline.
Step 5
This step is of the utmost importance in the whole process. It is easy to trip if the leverage is left loose. Now put the lockring and place it over the cassette. Now, start screwing it normally. First, do it by hand and then with the tool. The lockring holds your bike’s cassette in place.

As you can see now, the cassette is fixed properly in its place. Also, at this step, you grease the chain and the blocks in the cassette. This procedure will ensure the smooth running of your bike.
Another important tip, no doubt you need to tighten the arrangement, just make sure that you do not overtighten it. Over tightening may create problems in smooth pedaling.
Step 6
Lastly, put the skewer back in its place. After this, install the rear wheel on your bike, and Voila! You have easily changed the cassette. Now, you are all set to rock and roll with your bike. Once you have changed the old cassette, you will feel the real difference while biking. Now, it is flowing like wind, easy and smooth, isn’t it?
Also, once you are aware of the basic process, you can easily use it for advanced purposes, such as how to change a mountain bike cassette.
Wrap Up
I hope these steps have helped you on your quest to change a cassette on a road bike wheel. Though it feels like a simple process, it requires a bit of skill and appropriate force. Also, you should have a proper tool kit that will ensure you have done your work properly.
I request you to be careful while biking. Do not ignore repair needs. Always keep your bike in great condition for a carefree and safe ride.


